Call Us
+86-13486669457 中文简体
中文简体
 English
Cleanliness: This step is paramount for ensuring the integrity of the seal. Start by thoroughly cleaning the flange faces and mating surfaces using approved solvents or degreasers. Remove any traces of oil, grease, dirt, or debris, as even minute particles can compromise the seal. Use lint-free cloths or brushes to meticulously clean the surfaces, paying special attention to the sealing grooves and bolt holes. Inspect the surfaces visually and tactilely to confirm cleanliness before proceeding with the assembly.
Inspect Flanges: Take a meticulous approach to inspecting the SAE flanges. Use magnification and appropriate lighting to examine the surfaces for imperfections such as cracks, pitting, corrosion, or signs of wear. Utilize non-destructive testing methods like dye penetrant inspection or magnetic particle testing for detecting surface defects that may not be visible to the naked eye. Document any findings and promptly address any deviations or discrepancies to maintain the integrity of the assembly.
Proper Alignment: Achieving precise alignment between the SAE flanges and mating components is essential for ensuring uniform sealing pressure and preventing leaks. Utilize precision alignment tools such as dial indicators or laser alignment systems to verify alignment accuracy. Check for any deviations from parallelism or perpendicularity and make necessary adjustments to achieve optimal alignment. Pay attention to factors such as surface flatness, parallelism of sealing faces, and concentricity of bolt holes to minimize the risk of misalignment. Establish clear alignment procedures and guidelines to maintain consistency across multiple installations.
Torque Specifications: Proper torque application is critical for achieving the desired clamping force and ensuring a reliable seal between the SAE flanges. Use calibrated torque wrenches or torque-tensioning equipment to apply the specified torque accurately and uniformly to all bolts or studs in the flange assembly. Implement a torque verification process to confirm that the applied torque meets the required specifications and adjust as necessary to achieve the desired preload.
Tightening Sequence: Adopt a systematic tightening sequence to distribute the clamping force evenly across the flange faces and minimize the risk of uneven loading or distortion. Start by snugly tightening all bolts or studs by hand to ensure proper seating and alignment of the flanges. Then, proceed to tighten the bolts in a sequential pattern, alternating between opposite sides of the flange to maintain symmetry and balance. Use a cross-pattern or star-pattern sequence to gradually increase the clamping force in small increments until the specified torque values are reached. Monitor the torque progression closely and make any necessary adjustments to achieve uniform tightening.
Use of Lubricants: Applying a suitable lubricant to the bolt threads and under the bolt heads/nuts is essential for reducing friction and ensuring smooth, consistent tightening of the SAE flanges. Choose a lubricant that is compatible with the bolt material and thread type, as well as the operating environment of the hydraulic system. Apply the lubricant sparingly and uniformly to prevent excess buildup or contamination of the gasket surfaces. Consider using anti-seize compounds or thread-locking adhesives for critical applications where corrosion resistance or vibration resistance is required.
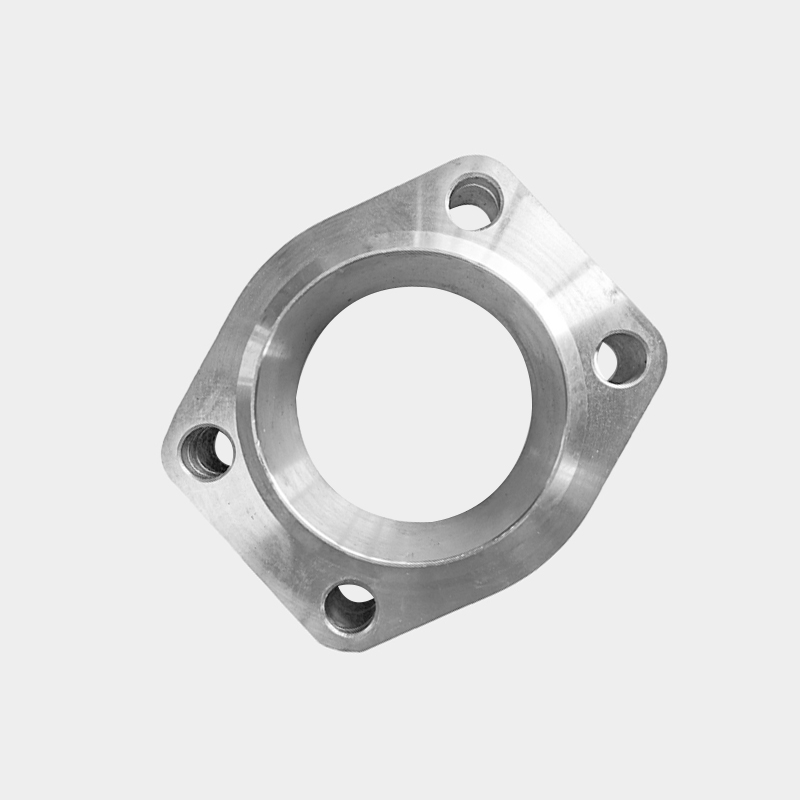
SAE Socket Welding Flange