Call Us
+86-13486669457 中文简体
中文简体
 English
Prepare the Work Area: Prior to commencing installation, meticulously clean the work area using industry-standard cleaning agents and procedures. Employ lint-free cloths, compressed air, or specialized cleaning solvents to remove any particulate matter, grease, or residues that could compromise the integrity of the hydraulic system. Pay particular attention to the vicinity of the port where the SAE B blanking plate will be installed, ensuring that no contaminants are present that could impede the sealing interface or migrate into the hydraulic fluid.
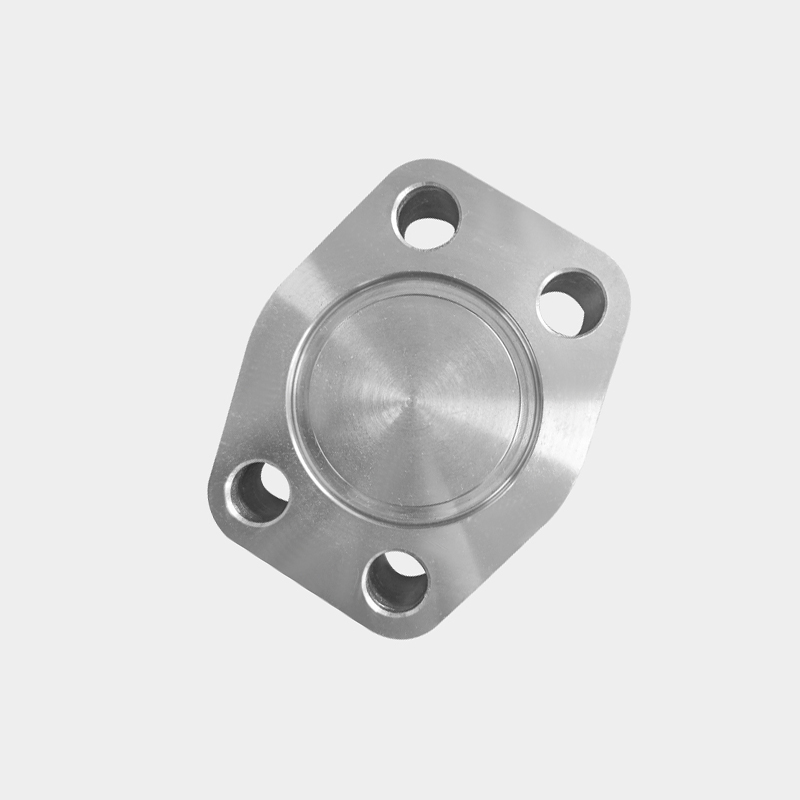
Inspect the Plate: Conduct a rigorous visual inspection of the SAE B blanking plate to identify any imperfections, irregularities, or manufacturing defects that may compromise its functionality or structural integrity. Utilize magnification tools such as magnifying lenses or microscopes to scrutinize the threads, sealing surfaces, and overall construction of the blanking plate with meticulous attention to detail. Look for signs of surface irregularities, machining errors, or material inconsistencies that could impact the effectiveness of the sealing interface or compromise the structural integrity of the blanking plate.
Apply Thread Sealant: Employ a high-performance thread sealant specifically formulated for hydraulic applications to ensure reliable sealing and prevent fluid leakage. Select a sealant compatible with the hydraulic fluid composition and operating conditions to ensure long-term stability and resistance to degradation. Apply the thread sealant evenly and uniformly to the male threads of the blanking plate using precision applicators or brushes, ensuring complete coverage and adequate penetration into the thread roots to achieve a robust seal.
Position the Plate: Carefully position the SAE B blanking plate over the port opening with meticulous precision, aligning the threads of the blanking plate with those of the port to facilitate smooth engagement and proper seating. Exercise caution to prevent misalignment or cross-threading during positioning, as misalignment can compromise the integrity of the sealing interface and result in fluid leakage or structural damage. Utilize alignment tools such as alignment pins or guide pins to ensure accurate alignment of the blanking plate with the port opening before proceeding with installation.
Hand Tighten: Initiate the installation process by hand tightening the blanking plate into the port opening to establish initial engagement and prevent cross-threading. Rotate the blanking plate in a clockwise direction while applying gentle axial pressure to facilitate thread engagement without imposing excessive force or torque. Monitor the resistance encountered during hand tightening and be prepared to disengage and realign the blanking plate if any signs of cross-threading or binding are observed. Exercise caution to avoid overtightening during the initial hand tightening phase to prevent damage to the thread roots or sealing surfaces.
Use a Wrench: Once the blanking plate is securely hand tightened, transition to the utilization of a calibrated torque wrench or precision wrench to apply the final torque to achieve optimal sealing and structural integrity. Select a wrench size compatible with the flats or hexagonal portion of the blanking plate to ensure proper engagement and torque transmission. Refer to torque specifications provided by hydraulic component manufacturers or industry standards to determine the appropriate torque value for the specific size and thread type of the blanking plate. Gradually apply torque in small increments while monitoring for any signs of resistance or binding, and cease tightening once the specified torque value is attained to avoid over-tightening and potential damage to the threads or sealing surfaces.
SAE Closed Flange